Useful thread, this. (well, it will be eventually.) Good call, badruck

The first thing you should consider when building a games table is:
WHERE AM I GOING TO KEEP THIS?
I cannot stress enough how important this question is. Measure things. Make sure your terrain will fit where you intend to keep it. Make sure that this place is somewhere it doesnt need to be moved often, as terrain is fragile, usually.
First and foremost, for any table builder I would recommend getting a good gaming mat.
Personally I despise gaming mats, but I accept that not everyone wants to nip down the local hardware store and buy wood and nails and start from there (altho I highly recommend it.)
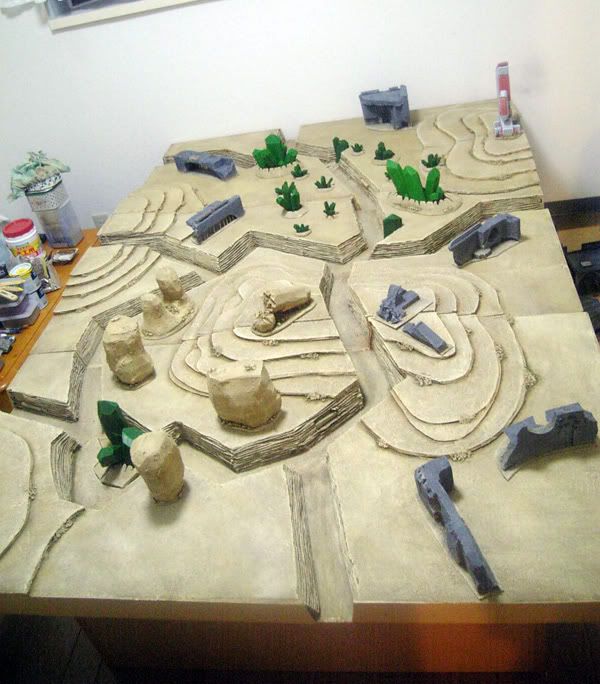
Here's wot I did for my table, which I'll concede is a bit OTT for most folks' tastes. You could simplify the whole shebang a great deal by getting rid of the trenches and making all the hills separate from the table.
*EDIT* actually, step 1 is : Draw a picture. This is very important, as it tends to clarify to you what you really want on your board. Put in measurements if you can, or at least proportions. Spend a few days doodling on this one, as its an important step.
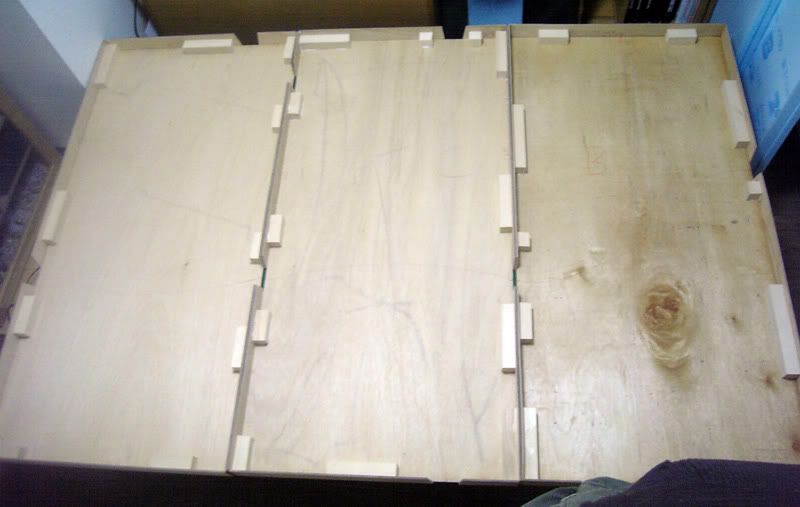
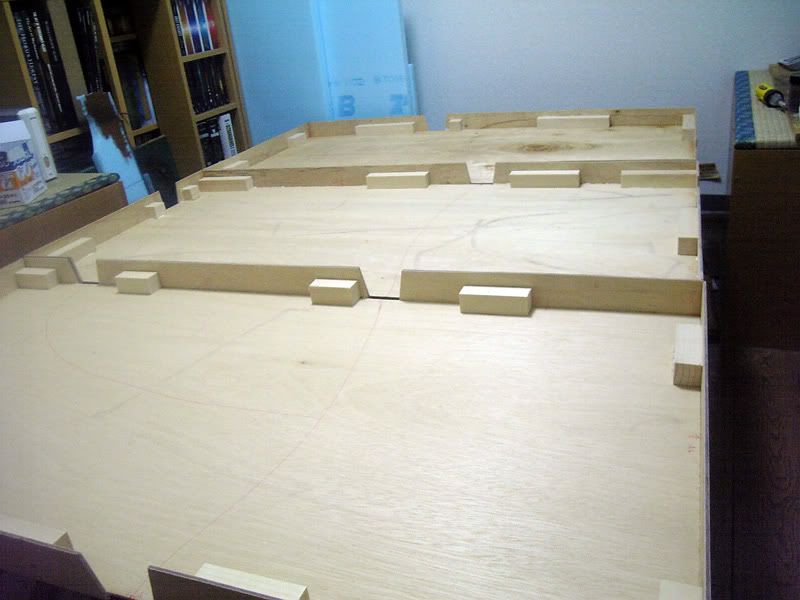
Step 1: Buy wood and nails from your local hardware store. Measure them and cut them to your desired size (note: standard gaming table size is 6x4feet. 3 2x4 pieces is far easier to store.
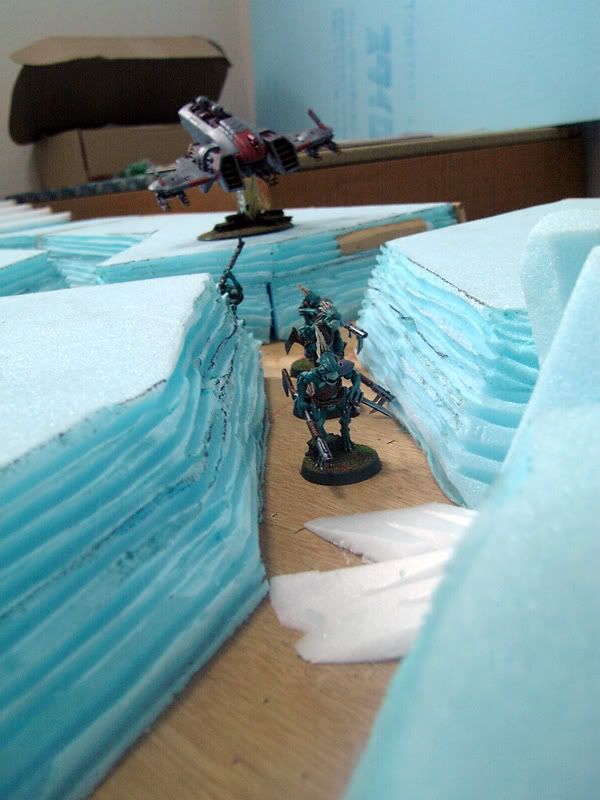
Cover table in styrofoam. Do not use expanded polysterene, as it is crap in every way. You dont need to cut trenches n stuff. They took ages

This is one of the 3 parts I made.
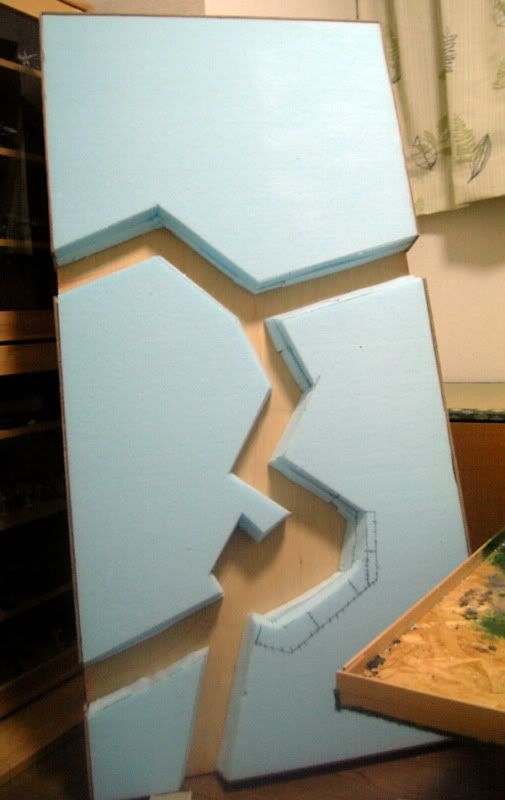
make hills, and add any wee thematic bits that you want for your table. e.g. I added some crystals in the trench walls and floor.

Paint everything in your chosen base coat. (in this case, i was aiming for desert. The paint i used was a general purpose 1liter can of brown acrylic from the hardware store. I mixed in some cement and sand and lots of white glue for texture. (I knew i would drybrush later.)

Now drybrush the crap out of it. Use at least 3 shades, and mix em for intermediates. Use a big brush, again from the hardware store. Mine was about 3" across.
This is how mine finished up, before a few finishing touches, and after doing the crystals n stuff. By far the hardest part was the trenches. If you left them out, I reckon even a n00b could make this table.